In her new cookbook, Petra (Petee) Paredez writes, "Making pie is an inherently generous act, because pie is a dish that is meant to be shared." Millions of Americans are bracing to slice into a freshly-roasted turkey on Thanksgiving Day, but the real magic happens at the end of the meal. And it involves slicing into freshly baked apple, pecan and pumpkin pies to share.
When the owner of Petee's Pie Company stopped by Salon Talks to discuss "Pie for Everyone," which features recipes from one of New York's top pie shops, I asked her to expand upon the generous act of pie making.
"I think that one of the ways that pies transform a meal is that it's a dessert that everybody shares, and we kind of want to share dessert. When you're at a restaurant, dessert is the thing you're most likely to share," Paredez said. "And it's this joyful sort of indulgence. It feels good to share as an experience with somebody."
"But the other thing about pie is that it has a reputation for being tricky. And there are some tricks to it, but it's something everybody can learn. If you spend the time to make a pie for somebody, they know that you care about the," she continued. "If you take a pie to an event that you made yourself, it's going to really sort of endear people to you, because they know that you took the time to do something special for them."
But there is a formula that every at-home baker can master, and Paredez is finally sharing her secrets with the world. First, no house is complete without a strong foundation — and that's a tender and flaky crust when it comes to pie making. Next, the fruits and natural ingredients that fill pies are the true stars of the show.
"My guiding principle is that when it comes to fruit pies, you want to just amplify the flavors that are already there," she told Salon.
You can make Maple-Butter Apple Pie at home by following the recipe below. For a master class in pie making, you can read the Q&A of our conversation below.
***
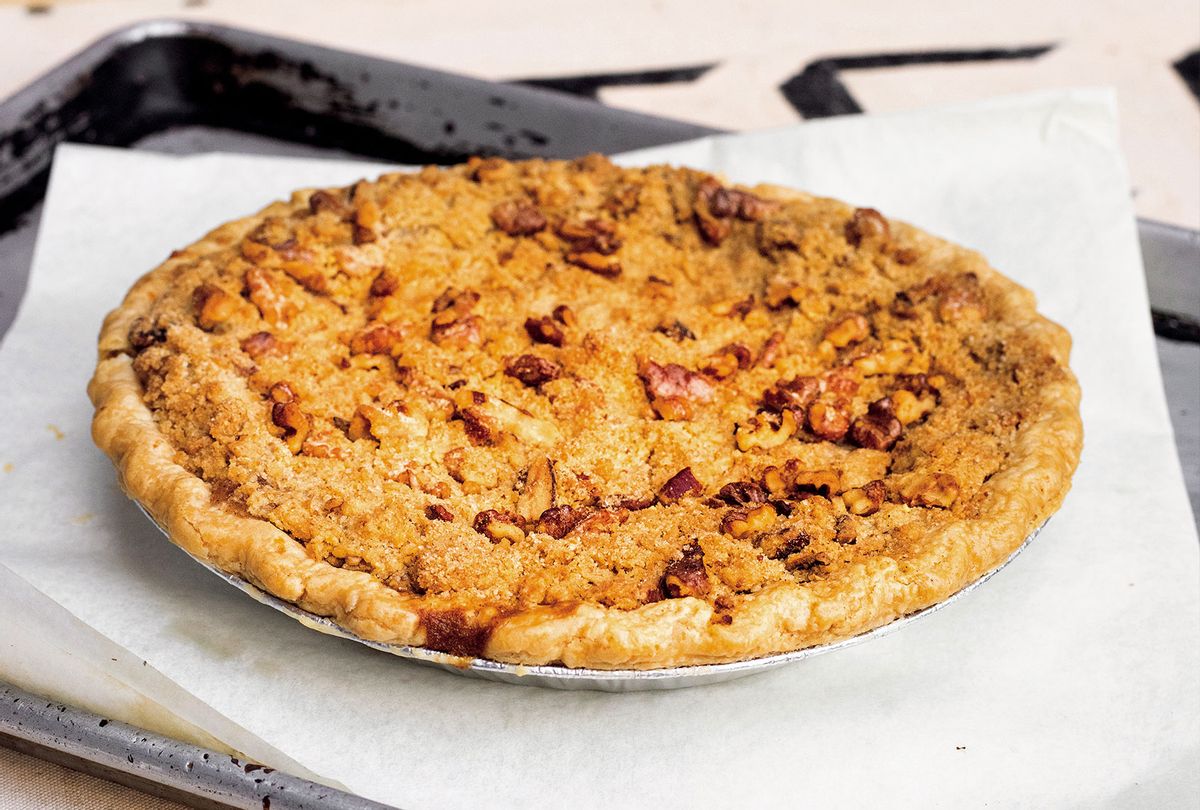
"While my other apple pie recipe is as simple as can be, this recipe uses browned butter, a variety of spices, and the woody, caramelized flavor of maple syrup to make an apple pie with layers of flavor that is perfect on a chilly winter day." - Petee
***
Recipe: Maple-Butter Apple Pie
Makes one 9-inch (23-cm) pie
Ingredients:
- 3 tablespoons unsalted butter
- 3 tablespoons maple syrup
- 1⁄8 teaspoon ground nutmeg
- 1⁄8 teaspoon ground cardamom
- 1⁄8 teaspoon ground allspice
- 1⁄4 teaspoon ground cinnamon
- 1½ pounds (680 g) peeled and sliced apples
- 2 teaspoons lemon juice
- 1⁄3 cup (65 g) sugar
- 2 tablespoons tapioca starch
- 1⁄4 teaspoon salt
- 1 bottom crust, crimped (1⁄2 recipe any crust type; see pages 50 and 52)
- 1 recipe Cornmeal-Pecan Crumb, made with black walnuts in place of pecans
Directions:
- Preheat the oven to 400°F (205°C).
- In a lightly colored, large saucepan (so that you can see the color of the butter as it cooks—white enamel or stainless steel both work well), melt the butter over medium heat. After the butter melts and begins to bubble, heat for 5 to 10 minutes more, stirring with a wooden spoon, until the butter browns. When the butter is sufficiently browned, small chunks of toasty brown caramelized milk solids will have formed, and the rest of the butter will have a deep, golden-brown hue. Remove from the heat and whisk in the maple syrup, nutmeg, cardamom, allspice, and cinnamon. Add the apple slices and stir to coat. Stir in the lemon juice.
- In a small bowl, whisk together the sugar, tapioca starch, and salt, making sure that the starch is evenly dispersed. Pour the sugar mixture over the apples and stir to coat. Pour the filling into the bottom crust, making sure to scrape the entire contents from the sides of the pan into the pie.
- Top the filling with the crumb according to the instructions on page 58. Place the pie on a baking sheet to collect any juices that bubble over and bake for 20 minutes, then reduce the heat to 375°F (190°C) and continue to bake for 40 minutes more, or until the filling has been bubbling for at least 10 minutes.
- Transfer the pie to a cooling rack and allow to cool for at least 1 hour before serving. Serve warm or at room temperature. The pie will keep for up to 3 days at room temperature.
Cornmeal-Black Walnut Crumb
- ¼ cup plus 2 tablespoons (70 g) cold corn flour or extra-fine cornmeal
- ¼ cup plus 2 tablespoons (45 g) cold all-purpose flour or gluten-free oat flour
- ½ cup (110 g) packed brown sugar
- ½ cup (1 stick/115 g) cold unsalted butter, or ½ cup (105 g) cold refined coconut oil, divided into teaspoon-size pieces
- ½ teaspoon vanilla
- 1/3 cup (40 g) black walnut pieces
- ½ teaspoon salt
- Combine all the ingredients in the bowl of a food processor and pulse until the butter or coconut oil pieces are no larger than a pea.
- Alternatively, to mix by hand, combine cornmeal, flour, brown sugar, and salt in a medium bowl. Add the butter or coconut oil pieces and toss to coat them in the dry ingredients. Use your fingers to squeeze the butter or coconut oil pieces into pea-sized pieces. Sprinkle the vanilla extract over the dry ingredients and butter, then add the black walnut pieces and toss once more with your fingers to combine.
- Pour the fruit filling to the bottom crust. Using a spatula, smooth the surface of the filling, ensuring the filling reaches the edges evenly.
- Sprinkle the crumb over the filling one large spoonful at a time, starting at the outer edge and working your way toward the center. Use your fingers to gently distribute the topping so the thickness is more or less consistent across the center of the pie and slightly thicker near the edges. Do not compress it into the filling.
- The crumb can be kept in an airtight container in the freezer for up to a year.
Butter Pastry Dough
- 1 tablespoon sugar
- 1¼ teaspoons salt
- 1⁄4 cup (60 ml) boiling water
- 1½ loosely filled cups (180 g) pastry flour, from the freezer
- 2⁄3 loosely filled cup (80 g) all-purpose flour, from the freezer
- 1 cup (2 sticks/225 g) cold unsalted butter, cut into 1⁄2 -inch (12-mm) pieces
- Extra flour, for rolling
Making dough by hand
- Stir the sugar, salt, and water together in a small bowl until the sugar and salt are fully dissolved. Place the bowl in the freezer—the liquid needs to be ice cold before it is added to the dough.
- Put the flour(s) in a large bowl and dump the butter, lard, or coconut oil into the flour. Toss to coat the pieces of fat in the flour. Working quickly, use your thumbs and index fingers to squeeze each chunk of fat into a thin sheet, between 1⁄8 and 1⁄4 inch (3 and 6 mm) thick. Shake the contents of the bowl to ensure the sheets are well-coated in flour.
- Sprinkle the ice-cold sugar-salt solution over the fat and flour. Use your fingers to lightly toss the contents of the bowl around to disperse the liquid.
- Squeeze the shaggy mess with your fists, repeatedly and quickly, until the chunks get bigger and more cohesive.
- At first it will be crumbly and seem as if it won't come together, but with continued compression, you can begin to make two mounds of dough of roughly equal size. Flatten your mounds into 1-inch- (2.5-cm-) thick disks.
How to Roll a Dough Sheet and Make a Bottom Crust
- Prepare a clean, dry, nonporous surface by sprinkling it with the flour appropriate for your choice of dough.
- Place a disk of dough on top of the floured surface and sprinkle it with a little more flour. Place your rolling pin in the center of the dough and roll away from yourself with firm, even pressure, but not enough force to squish the dough. As you approach the edge of the dough, use a little less pressure so that it doesn't become too thin on the edges.
- Rotate the dough about 45 degrees. Place the rolling pin at the center of the disk and roll away from yourself once again.
- Continue to rotate and roll, adding more flour as needed to prevent the dough from sticking to the surface and/or the rolling pin, until you've rolled the dough to approximately 1⁄8 inch (3 mm) thick. If the dough starts to split on the edges, you can gently press it back together before continuing to roll it out. The finished sheet of dough should be roughly 12 inches (30.5 cm) in diameter.
- Transfer the sheet of dough into a pie pan, centering it so that you have at least 1 inch (2.5 cm) of extra dough all the way around the edges of the pan. While transferring, support the dough with your fingers spread out, in order to distribute the weight and prevent breakage.
- Alternatively, put your hand and wrist under the silicone mat along the center line of the dough circle and pick it up, letting one half of the circle hang on one side of your hand, and the other half of the dough circle hang on the other side.
- Lay one half of the dough along the center line of the pie pan, then fold the other half over so the silicone mat is lying over the top, then remove the mat.
- Once the sheet of dough is in the pan, ease it into the corner where the base of the pan meets the sides.
- In order to do this without stretching or breaking the dough, lift the edge of the dough with one hand to allow it to fall into place while gently pressing it into the corner with the other. If not crimping or adding a top crust, trim the crust by running a knife all the way around the outer edge of the pan.
How to Make a Crimped Bottom Shell
- After transferring your dough sheet into the pie pan, lift the edge of the dough up to make a raised, hollow area, about 3⁄8 inch (1 cm) or a little less than 1⁄2 inch (12 mm) high, over the edge of the pie pan, pressing the excess dough against the rim of the pie pan to trim it. This will give you enough dough to form a decorative edge.
- Then position the thumb and forefinger of your nondominant hand so that there's about 1⁄2 inch (12 mm) of dough between them, and push them gently into the edge of the crust, right over the rim of the pie dish, while simultaneously using the forefinger of your dominant hand to push the dough from the opposite side into the space between your thumb and forefinger.
- Shift your nondominant hand so that your thumb is now in the spot that your nondominant index finger just occupied, and repeat the same motion. Continue all the way around the edge of the pie. The rounded edges that result from this method prevent the burning that would otherwise happen if you pinched the dough into thin, sharp points.
Like this recipe as much as we do? Click here to purchase a copy of "Pie for Everyone: Recipes and Stories from Petee's Pie, New York's Best Pie Shop."
Shares