Bellwether Vance
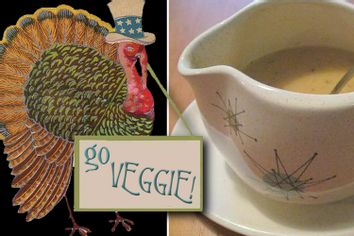
When the turkey took revenge, I took to vegetarian gravy
Bellwether Vance
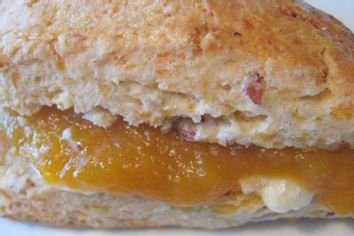
Cheddar pecan scones with butternut squash butter recipe
Bellwether Vance

Cheddar pecan scones with butternut squash butter
Bellwether Vance
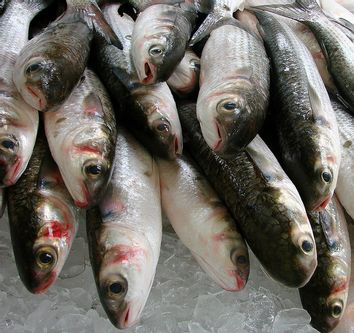
Smoked mullet spread recipe
Bellwether Vance
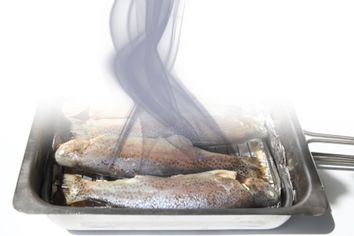
I quit eating meat, but I still smoke ... food
Bellwether Vance
Creating my own ethnic cuisine
Bellwether Vance

Seeing my mother's naked body
Bellwether Vance
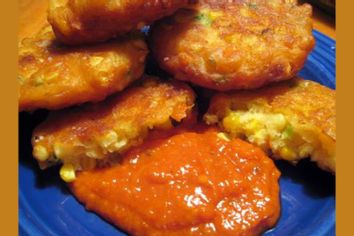
Golden-fried corn cakes with smoked tomato sauce
Bellwether Vance
Golden-fried corn cakes with smoked tomato sauce recipe
Bellwether Vance

Fried green tomatoes and the battle for my belly
Bellwether Vance
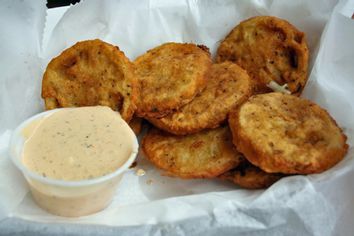
Fried green tomatoes recipe
Bellwether Vance
Southern blackberry cobbler (aka blackberry doobie)
Bellwether Vance
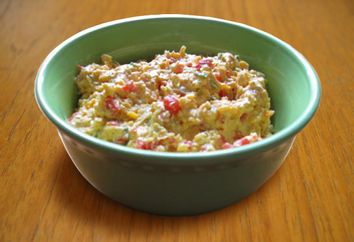
Pimento cheese is happy food
Bellwether Vance

Irish soda bread scones for St. Patrick's Day and friendship
Bellwether Vance
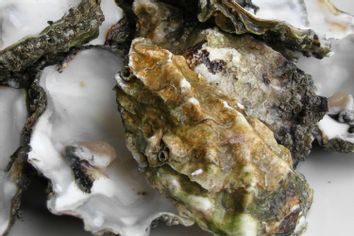
My love for oysters isn't a sexy love, but it is love
Bellwether Vance
Page: 1