I have a recurring nightmare every year around this time. It starts out as more of a fantasy: My friends and family are gathered around an elegant, sophisticated living room, sipping some sort of festive cocktail and nibbling on perfect two-bite gougères I was organized and technically skilled enough to whip up with no drama.
“It’s almost time to eat!” I call out from the kitchen, where I’m stationed in a tasteful outfit and matching linen apron, spooning fluffy mashed potatoes into an appealing pile that guests will henceforth call “mashed potato cloud-mountain,” and transferring extra-crispy brussels sprouts over to a beautiful white ceramic serving platter. (My hair looks perfect, if you were wondering.)
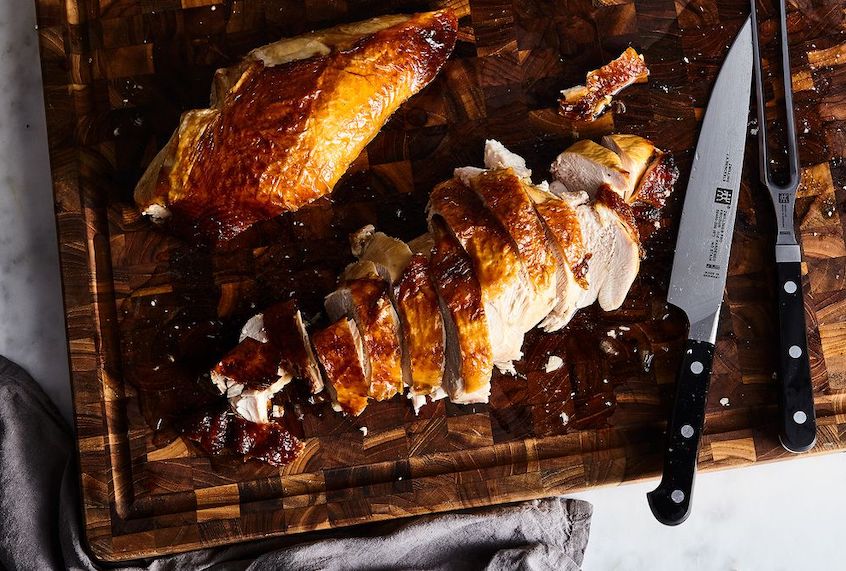
“Just have to carve the turkey, then we’re all set!” I shout — except it’s really more of a gentle, confident announcement than a shout. And then, I turn to the cutting board. Here’s where things take a turn: My gorgeous, glistening turkey is as rested as can be, its delicious juices collected in the deep trivets of my favorite cutting board. I pick up my carving knife, and get started.
And before I know it, I’ve ruined everything. The meat ends up in dry, shreddy piles. The skin’s frayed and nowhere near its corresponding meat pieces. The drumsticks look like something the Flinstones’ pet dinosaur took for a spin, mouth-wise. And before I can do anything to fix it — urgent herb garnish?? — I awake, speechless.
This is no way to live. This year, I decided to put an end to the madness, and learn once and for all how to master the art of turkey carving. To aid me in this pursuit, I called in the masters: specifically, professionally trained chefs Jacqueline Blanchard and Brandt Cox, who are the knife-experts behind Coutelier. Here are their top tips:
1. Give it a rest.
Just like you after you’ve prepared the entire Thanksgiving meal, your bird needs a quick nap.
“Before cutting into the turkey, you must allow the meat to rest,” says Cox. “For at least 20 to 40 minutes, depending on the size of the bird. This resting allows for the internal juices of the turkey to redistribute. If you don’t give the bird time to rest, the juices will run out of the meat and the meat will appear to be dry.”
In addition to maximizing juiciness, this step serves as insurance that you won’t burn your hands during the carving process.
2. Have a blueprint.
Ready to carve? First thing’s first: know your objective. You want to end up with eight main pieces initially, before you get into creating smaller slices. They are:
- Two breasts
- Two thighs
- Two legs, aka drumsticks
- Two wings
3. Follow the order of operations.
The first thing you want to do is to break down your turkey into those eight main pieces starting with the legs, according to Cox and Blanchard. “Removing the legs and joints should be the first step in slicing your turkey,” they say. “Also, when removing the thigh and leg from the bird, don’t forget about the oysters!”
Once you’ve carved the legs from the turkey’s body, you can separate the drumsticks from the thighs at the joint between them. Then, break down your bird into the remaining pieces in any order: Slice off the wings, and cut between the breasts to split them, then carve the meat from the carcass to separate the two breasts.
“After the turkey is broken down into eight pieces, I usually leave the wings and the drumsticks whole with the bone still in,” he says. Then, he recommends slicing the breasts, and removing the bones from the thighs and slicing those as well. “You can also simply pull apart the thigh meat, but I find that nice consistent slices make for a more beautiful presentation. Slices are also easier for people to grab and put onto their plate.”
4. The nitty gritty of carving: Tools.
According to Cox, the best knife for the initial carving is one where the blade is thicker near the handle, then slowly thins out to the top. “The thicker and more durable heel allows for easy removal of the leg from the thigh as well as other places where bone contact is more prevalent as well as gives the overall blade a lot of stability during use,” he says. Meanwhile, the thinner tip allows for carvers to clean off skin, fat, or small bones, as well as to get a thin slice when dividing up the breasts and thighs. “The Honesuki is the Japanese shaped blade specifically for boning poultry,” he says.
For slicing meat, a good rule of thumb is the thinner the blade, the better. “Thinner blades perform better and cut better, but can be more fragile,” says Cox. “A super thin and super sharp blade does less damage to cooked meat, and damages less cellular structure in vegetables. Thinner blades will also help keep the cooked meat together instead of it ‘shredding’ while being sliced.”
