I know it’s time for a spring refresh when the bustle of holiday and winter cooking starts to linger. I schlepped in oversized bags of flour and sugar to make cranberry-orange and pumpkin-chocolate loaves for Christmas—leaving a fine dusting of powder in the pantry. My freezer has become a small parking lot of deli tubs filled with extra pasta sauces and sides from New Year’s. There’s a slick of something sticky in the crisper drawer that I’d rather not investigate.
The kitchen starts to feel full of static—the kind that makes it easier to order in than to figure out what, exactly, is causing the low, annoying hum.
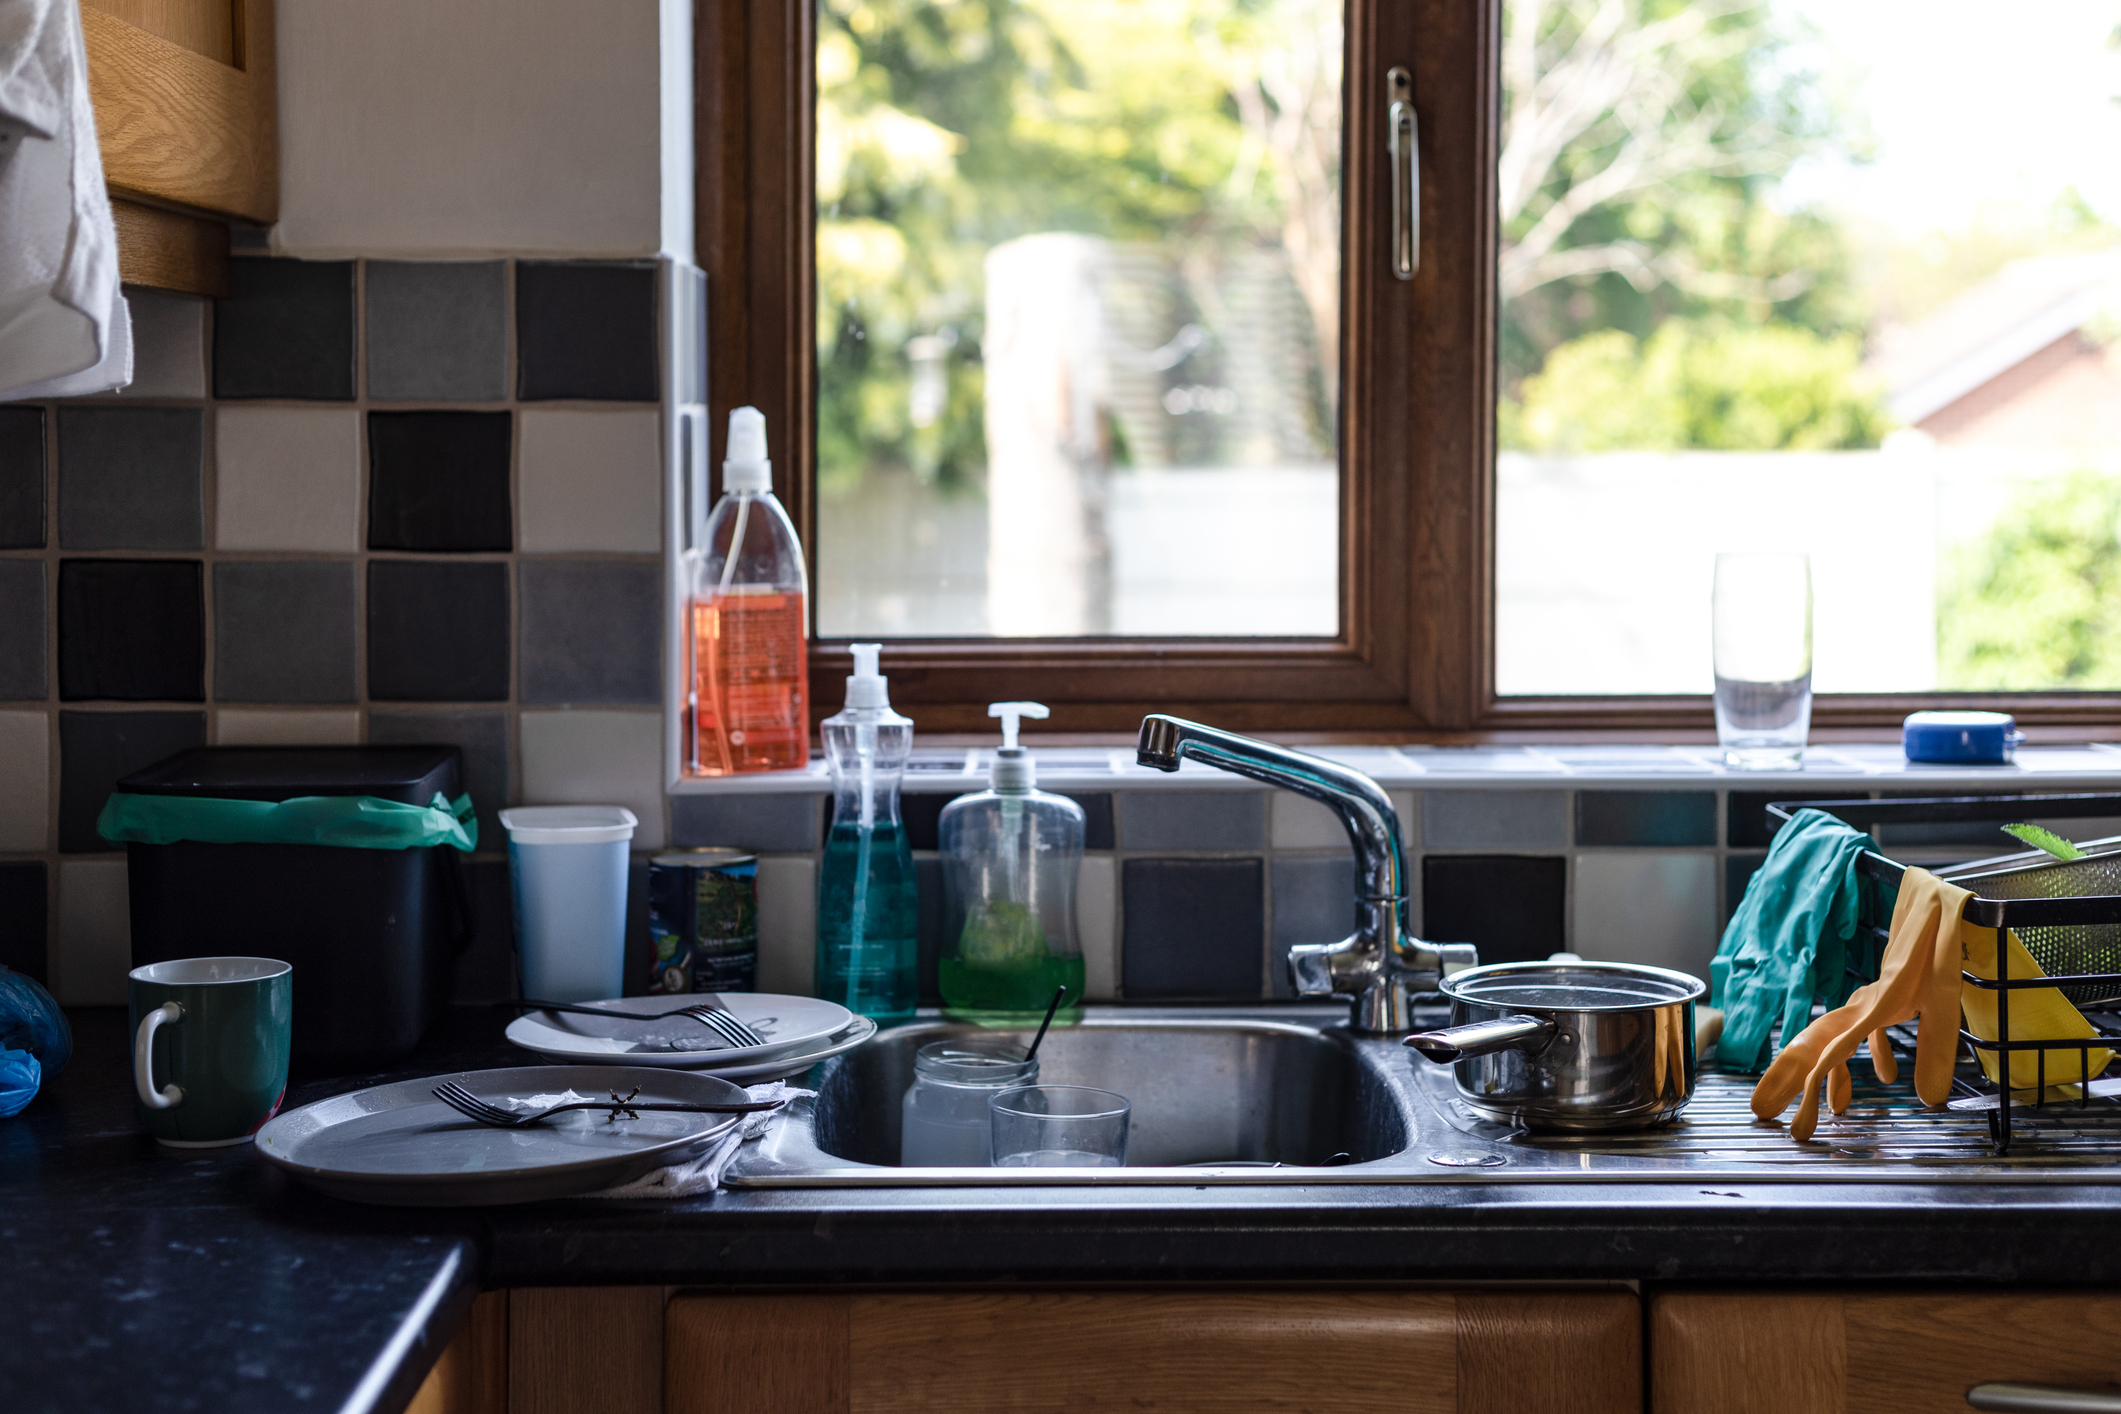
Even in a small kitchen (which mine is—galley-style, in a one-bedroom city apartment), it can be surprisingly hard to figure out where to start. There’s the blur of: What’s in the freezer? The pantry? The cabinets? That food storage container that’s definitely filled with something… questionable?
Often, the instinct is to just begin: grab a garbage bag, empty the freezer, start wiping baseboards, briefly consider alphabetizing your spices. And then look up four hours later and realize your kitchen doesn’t actually feel any cleaner.
I know my writer is showing, but I have a secret for you: the best place to start spring cleaning your kitchen is on paper.
Here’s what that looks like:
Step 1: Make the invisible tasks visible
You know how, when you really learn a neighborhood, it stops feeling like a single place and starts to break into distinct, familiar stops? When I first moved into my apartment, I had two basic directions: “toward Lake Michigan” and “away from Lake Michigan.” Now, I can trace my block with my eyes closed—from the Dollar Depot to the Vietnamese restaurant with the best avocado milkshakes, to the Chinese bakery where people line up for húdié sū during Lunar New Year, to the library corner where teens smoke weed after school.
Want more great food writing and recipes? Sign up for Salon’s free food newsletter, The Bite.
Before picking up a single scrub brush or broom, give yourself a map to your own kitchen by writing out the zones you’ll be tackling. For example:
- Fridge
- Freezer
- Pantry
- Food storage containers
- Countertops
- Cabinets
“Clean the kitchen” is overwhelming. “Clean the fridge” is a little less so.
Step 2: Break big tasks into micro-tasks
Depending on your temperament, breaking things down by location may be enough to get you gliding from zone to zone. If so, by all means, skip ahead to step three.
But if your brain operates more like mine — prone to a certain kind of domestic improvisation — it can help to take one extra pass and translate each zone into actual tasks. Take the fridge. Rather than the vague directive to “clean it,” I like to give myself a sequence:
- Take everything out
- Sort into categories
- Decide what stays and what goes
- Wipe shelves and drawers
- Return items to their spots
The goal here is not perfection, but momentum. You are not “cleaning the fridge” so much as moving through a series of small, highly achievable acts, one after the other, until—almost incidentally—the fridge is clean.
If you want a little more specificity as you move through these steps, keep it simple. Warm, soapy water or a gentle all-purpose spray will take care of most surfaces. I like to wipe from top to bottom — shelves first, then drawers — so anything loose gets cleared along the way. If something’s sticky or stubborn, let it sit with a damp cloth for a minute before wiping; it saves you from unnecessary scrubbing.
This is also your moment to be a little decisive. Anything that’s old, spoiled, crusted over, or vaguely suspect can go — no second-guessing required. If you come across pantry items you won’t use but don’t want to waste, set them aside in a small box to drop at a food pantry, a Little Free Library or even your building lobby with a “free” sign. (In my building, these little offerings appear and disappear with quiet efficiency—it’s a small, lovely system.)
We need your help to stay independent
And as you move beyond the fridge, give yourself permission to assess what’s actually working in your kitchen. The nonstick pan that’s shedding black flecks into your eggs? The spatula that warped when it got left in the oven? You don’t need to keep them. Cleaning gets much easier when you’re not working around things that are broken, frustrating, or just not serving you anymore. You’re not just cleaning—you’re giving yourself a little more room to cook.
Step 3: Schedule the reset (a weekend works best)
As someone who is not naturally tidy, I’ve tried on a number of spring-cleaning formats over the years. There are the guides that suggest one task a day for 30 days; the ones that stretch the process across four weekends; the ones that amount to a 16-hour cleaning marathon. If any of those work for you, truly — fabulous.
For me, the answer is a spring-cleaning weekend.
It offers the best of several worlds. With my kitchen already broken down into zones — and each zone into discrete tasks — I have a clear sense of the work ahead. And I’ve learned that I prefer to do it in a concentrated stretch, rather than living in a state of partial completion: a half-clean fridge on Tuesday, a reorganized pantry on Thursday, the vague sense that I am always in the middle of something. It is, for me, not a recipe for success. (Such is the case for how I like to meal prep, too).
Over the course of a weekend, I can lean into the ritual of it. Simple, non-messy snacks. Good drinks. A playlist that runs for hours (or, in my case, reruns of “Kids in the Hall”). I gather my cleaning supplies in advance and fill a cooler with ice to hold anything perishable while I work through the fridge and freezer. Typically, I dedicate one day to clearing out and cleaning, and the next to deeper, more detailed work.
A final act of personal grace: I plan for dead-simple dinners — frozen pizza, or takeout — both nights. There is no reason to christen your freshly cleaned kitchen with a sink full of dishes.
Step 4: Be kind to yourself about throwing things away
It’s worth pausing here to say: it can be surprisingly easy to slip into guilt when you start throwing out food.
Sometimes the narrative is simple—it feels bad to waste this. But often, it’s a little more layered: I thought I’d be the kind of person who would make this. A better version of me would have used this. I can’t believe I spent this much money.
But here’s the thing: that crusty, once-opened jar of kale pesto quietly haunting your condiment shelf? It’s not doing you any good in the fridge. It’s taking up space that could be used for food you actually want to eat — food that nourishes you, that doesn’t make you wince a little every time you see it.
The way I think about spring cleaning is this: cooking is a recurring act of care. You deserve to make it something you enjoy. And that means tending to your kitchen in a way that supports you — not one that holds onto evidence of who you thought you might be.
Step 5: Don’t reorganize just yet
I remember organizing my first little pantry during my first little spring clean with enormous pride. I bought a set of matching gray stackable bins from IKEA and neatly decanted everything into them — spices, bags of rice and beans, boxes of pasta, even small baggies of flour and sugar. It looked incredible to my 20-year-old mind: sleek, uniform, very put-together.
What I didn’t think about was the complete lack of practicality. Every time I needed a single ingredient, I had to shuffle through a stack of identical, unlabeled bins, opening and closing them like a particularly tedious shell game. It turns out that a beautiful system is not the same thing as a useful one.
I tell this story as a word of caution, because it can be very tempting to treat spring cleaning as an opportunity to reorganize your kitchen entirely.
But I’ve learned — both the hard way and from KC Davis, author of “How to Keep House While Drowning” — that there are different kinds of care tasks at play here: cleaning, tidying and organizing. And when you try to do all three at once, it’s very easy to lose momentum and end up surrounded by a constellation of half-finished projects.
So while you could use this moment to overhaul your systems, I’d offer a gentler approach: focus on cleaning and resetting first. Then, cook in your freshly reset kitchen for a few weeks. Notice where things feel awkward, inefficient, or slightly annoying. Those are your real pressure points.
When you’re ready, you can come back and reorganize—but this time, you’ll be building a system that actually works for you.
Step 6: Enjoy the payoff
It sounds counterintuitive, but I love getting ready for the first real meal after a spring clean. Because that static I mentioned earlier—the low, persistent hum that had been building since the holidays—is finally gone.
You notice it in small ways first. You open the fridge and nothing is hiding in the back. The shelves are clear. The containers are intact. There’s no reaching past something sticky or spoiled, no quiet dread lurking in the crisper drawer.
Maybe you’re chopping an onion, or heating a pan, or pouring a glass of something cold to drink—and instead of working around your kitchen, you’re just… in it. Moving easily. Reaching for what you need without thinking twice.
The kitchen works again. And more importantly, it works for you.
Step 7: Two tiny habits that help it last
Once you’ve reset your kitchen for the season, there are two small things I’d suggest to help keep it that way.
The first is what KC Davis, author of “How to Keep House While Drowning,” calls “closing duties.” It’s a concept borrowed from restaurant service — those end-of-night tasks that set you up for a smoother, saner start the next day — and it immediately appealed to me. (There’s still a little restaurant brain in me that finds deep satisfaction in leaving a space ready for the next shift.)
For me, an ideal closing ritual is simple: a clean sink, the trash taken out, and counters wiped down. It takes maybe 10 to 15 minutes, and it means I wake up to a kitchen that feels reset instead of waiting for me.
And when I don’t have that in me — which, to be clear, is often enough — I aim for a softer version: contain the dishes (everything in the sink, nothing lingering on the counters) and do a quick sweep for crumbs. It’s not perfect, but it’s enough to make the next day feel manageable.
The second is letting yourself enjoy the tools of the task. For a long time, I had this quiet belief that I didn’t need—or maybe didn’t deserve—to spend a little extra on cleaning products that smelled good. The basic stuff worked just fine, even if it smelled faintly like a school cafeteria.
But it turns out, hand me a bottle of grapefruit-scented spray or a lemongrass dish soap, and I’m a different person. Cleaning becomes less of a chore and more of a small, sensory pleasure—something I don’t mind returning to, night after night.
Read more
about this topic
