Every month, in Off-Script With Sohla, pro chef and flavor whisperer Sohla El-Waylly will introduce you to a must-know cooking technique — and then teach you how to detour it toward new adventures.
* * *
We’ve entered the golden era of nuts. Just about every one has been milked or turned into flour. And yes, there are many, many nut butters at the supermarket. But much like how you get the best out of spices by toasting and grinding your own, homemade nut butter cannot be beaten.
Just like in those spices, the aromas and flavors in nuts are volatile. Once you toast, you set off a ticking time bomb counting down to bland and, eventually, rancid nut butter. Who knows when the almonds in those grocery store jars were first toasted?
But besides getting to enjoy the most flavorful nut butter, blitzing my own gives me control. I have the power to sweeten and salt as I desire, add high-quality chocolate or freshly ground cardamom, and even recreate my favorite desserts in nut butter form. (Hello, Banana Bread Walnut Butter!)
Use this handy guide to go off-script and become your own genie, making all your nut butter wishes come true.
Toast low and slow
I have nothing against blitzing up raw nuts into creamy butter. It’s a great blank canvas for dressings, kormas, and hearty vegan stews. However, when I want a nut butter to spread on bread or fill a medjool date, I opt for a thorough toast.
By deeply toasting nuts, I end up with a richly colored and flavored butter, letting the nuts be all they can be. I like to toast low and slow — at 325°F for anywhere from 5 to 30 minutes — tossing the nuts frequently, so they heat evenly and get roasty-toasty to their core. At higher temperatures, nuts look toasted on the outside, but they’re still pale on the inside. Snap or slice a nut in half to make sure that it’s evenly browned all the way through.
If all I’ve got are pre-roasted nuts, I refresh them in the oven to wake up their flavors and warm their oils for more effortless blending. Figure 325°F for about 10 minutes. Try to avoid salted nuts, which can result in an overly salty nut butter (unless that’s what you’re going for).
Undress your nuts
Nut skins are slightly bitter and gritty, so removing them produces a silkier butter. While the nuts are still hot from the oven, gather them in a clean kitchen towel and rub off some of the skins. Hazelnuts clean up quickly, while almonds are more stubborn. I don’t worry about removing all the skins, especially those with nooks and crannies like walnuts or pecans. I just give it the old college try and rub off whatever I can.
Just keep processing
The time it takes to go from nut to butter can vary wildly. Cashews were born to butter and blitz into a smooth spread in only five minutes, while hardheaded almonds can take up to 30. The processing time also depends on the strength of your food processor and batch size. Just be patient, stopping to scrape the sides and bottom as needed. If your food processor gets overheated at any point, give it a break to cool down before continuing.
In the beginning, you might be tempted to add oil, but resist. With enough processing, any nut will transform from flour to paste to dreamy nut butter all on its own. Although I like to finish my nut butters with extra fat for flavor and texture, the timing is crucial. If you add fat too early, it lowers the mixture’s friction, thwarting our chances of smooth glory. Because of this, I always add any moist mix-in, like brown butter or milk chocolate, at the end.
Make it your own
Sit back, relax, think about where you want to go, and season your nut butter to take you there. With my Joyous Almond Butter, I travel to the ’90s when that nutty commercial was everywhere. My Banana Bread Walnut Butter sends me to my mom’s kitchen, giving me all those freshly baked feelings.
You can have a lot of fun here, so go for it:
- Add ground spices, like nutmeg or black pepper, when you start to blitz. The processing heat will bloom the spices and draw out their aromas.
- Team up the nuts with freeze-dried fruits, especially strawberries or apples, for peanut-butter-jelly vibes and a thicker spread.
- Try different sweeteners, like molasses-y dark brown sugar for depth, or crunchy turbinado for sweetness and texture.
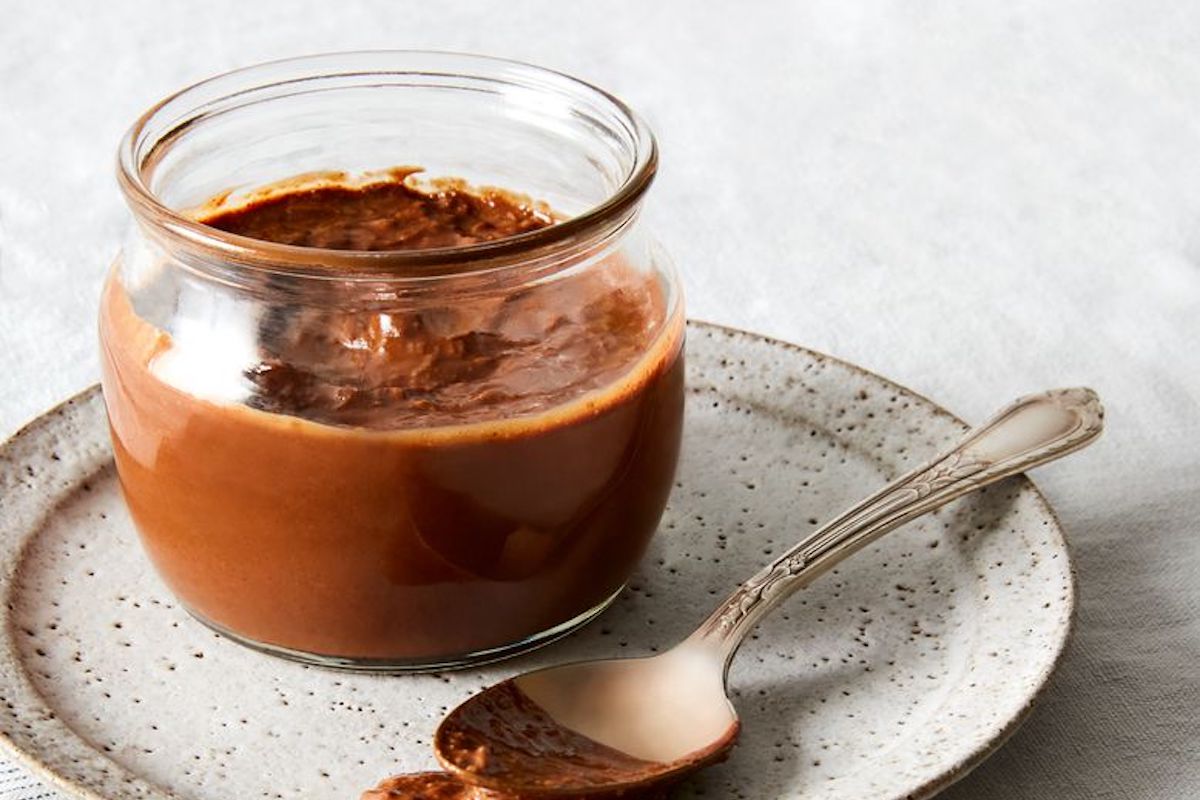
- Make it extra indulgent by adding chocolate (chips or chopped) or cocoa powder to make your own Nutella or peanut butter and chocolate spread..
- Finish with flavorful oils, like toasted sesame or virgin coconut oil, to amp up the flavor and give the butter a smoother texture.
- Fold in crunchy mix-ins by hand at the end, like toasted coconut, assorted seeds, or even smoky bacon bits.
